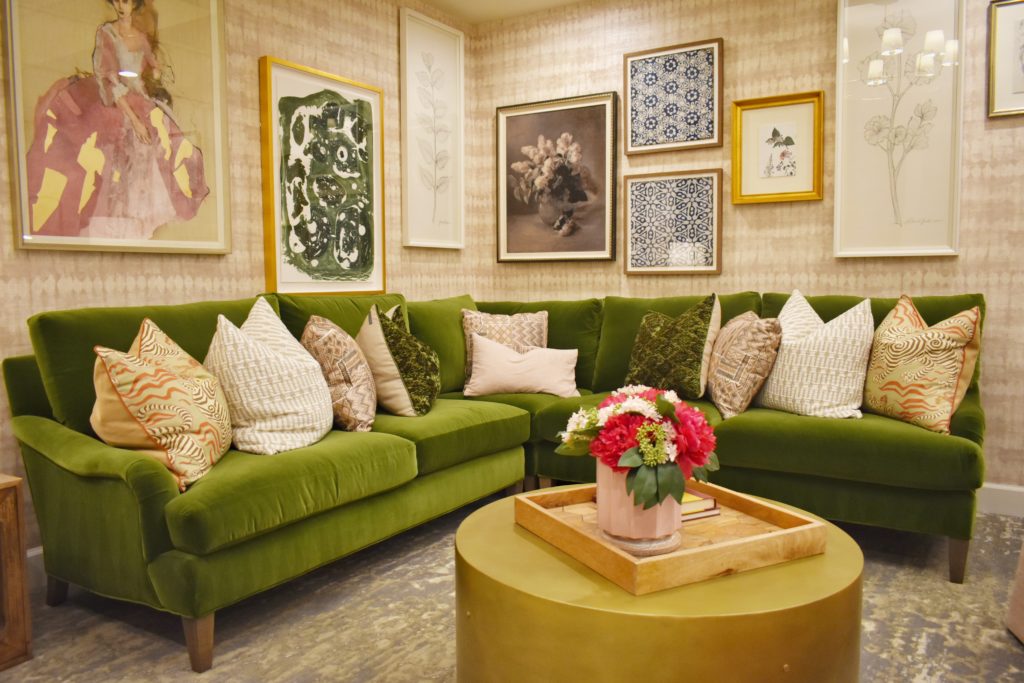
Today on the blog, learn how to create the perfect gallery wall!
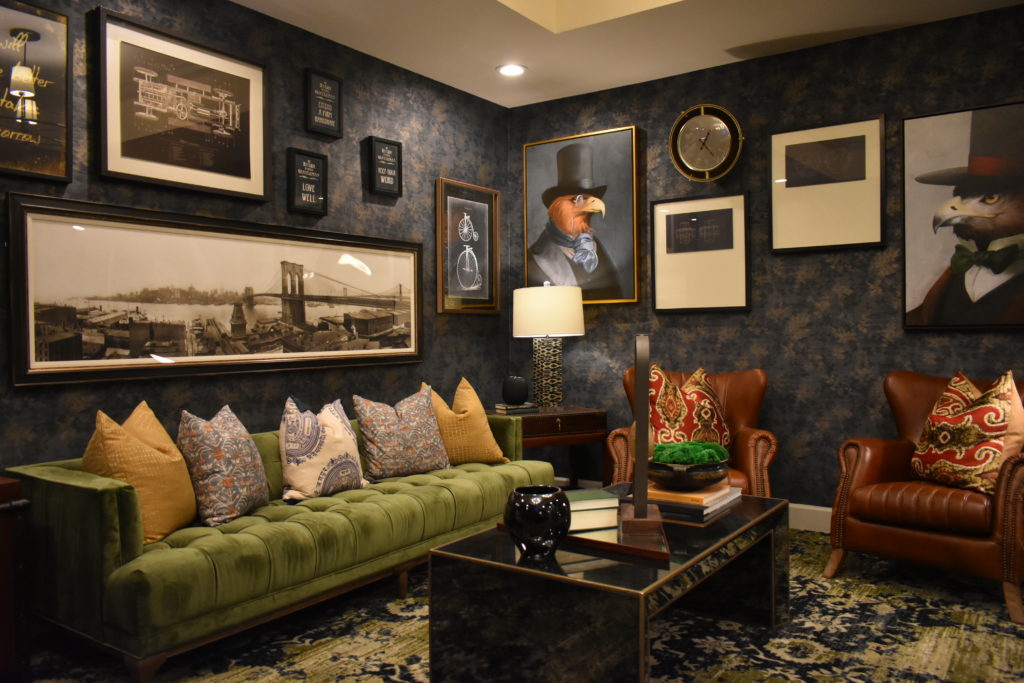
You might think that gallery walls are only appropriate for more eclectic or bohemian designs- wrong. A gallery wall can be the perfect addition to any design style! We try to incorporate galleries into every design because they make a beautiful statement wall and do a great job telling the client’s story.
Not only do galleries fill empty walls in a creative way, but they reflect you, your family and your interests. If you want to make your home more personal, we strongly suggest considering a gallery wall (or multiple)!
There is a method to gallery walls. Some people will just start hanging artwork and figure it out as they go- don’t do this. Make sure you take time planning the design of the wall.
CONTENT
First, determine what content you want to incorporate.
Asking yourself the following questions can help!
1. Do I have any favorite pictures or artwork that I want to showcase?
2. Is there a specific theme I’m going for?
- Movie poster theme
- Music theme
- Personal vacation photos
- Black and White theme
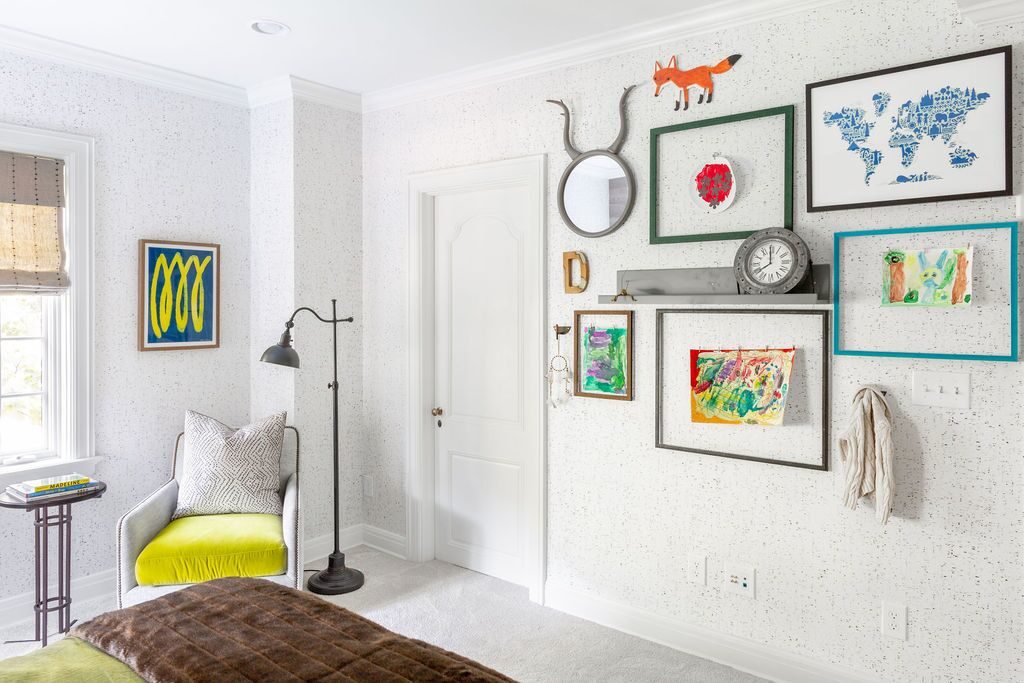
- Whimsical theme
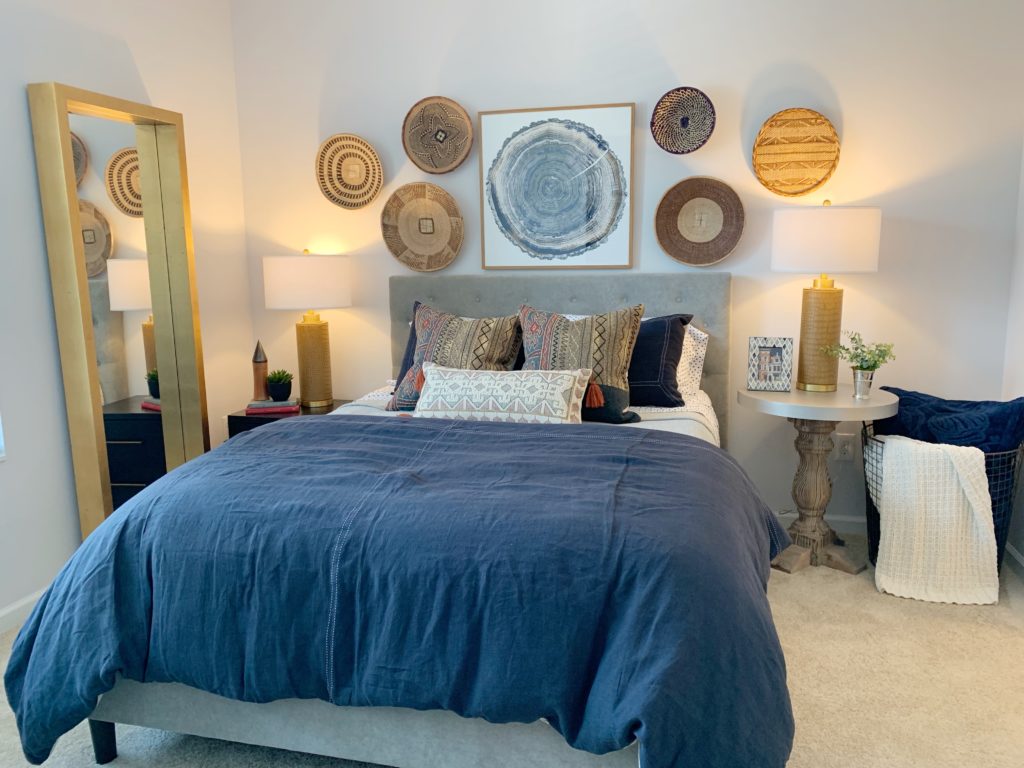
3. Will I use just photos, or do I want to incorporate other pieces too?
- Tapestries
- Ceramics
- Baskets
- Sculptures
4. What look am I going for?
- Clean and modern look
Mix white and light wood frames
Use frames that are all the same color - Eclectic look
Use a mixture of vintage and modern frames
Use assorted frame colors - Chic look
Use a mix of white, gold and black frames
Make sure all the frame styles are similar
Feel free to combine themes, just make sure the art works well together. The key to a good gallery wall is consistency.
One great way to create consistency is to stay within a similar color palette, as too many bright images and objects may be overwhelming. Pop in an unexpected accent, just not too many.
But if the items you want to use have a lot of different colors, you can create consistency by using the same frames for all of the pieces!
Also, be sure to grab items of all shapes and sizes. Include horizontal, vertical and square images as this will result in a well-balanced gallery wall. Incorporating smaller pieces of art can also help create balance.
Now that you’ve pulled together your content, determine the placement of each piece.
PLACEMENT
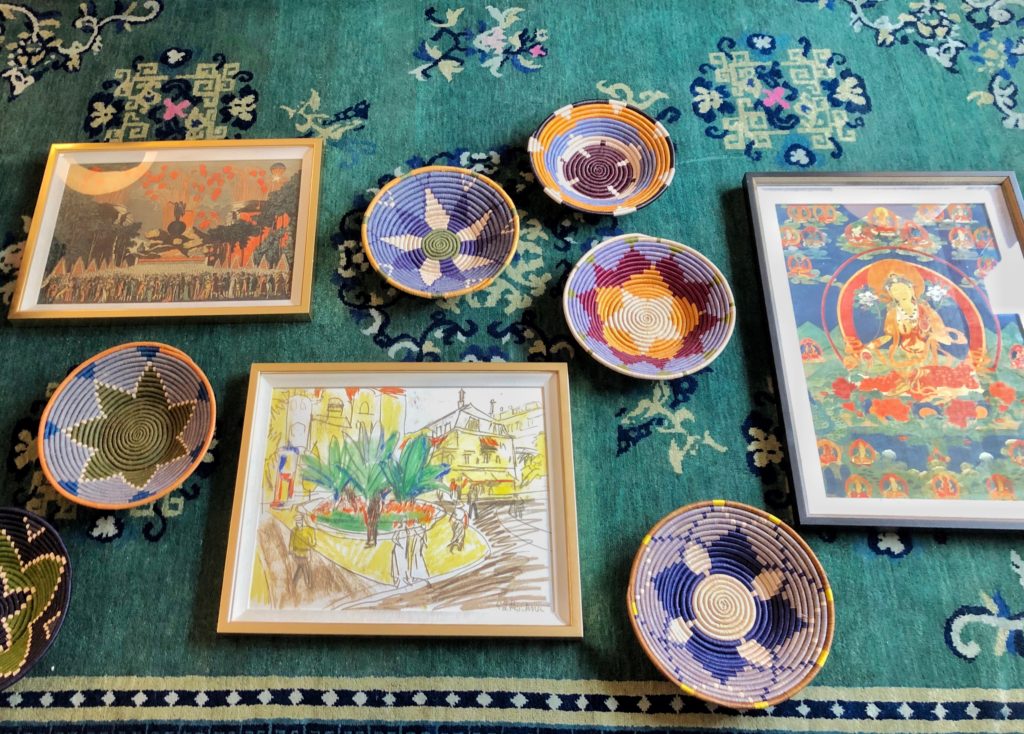
- Lay each piece of art out in an open space like the kitchen island or the floor. This will allow you to move the pieces around without putting a handful of holes in your wall!
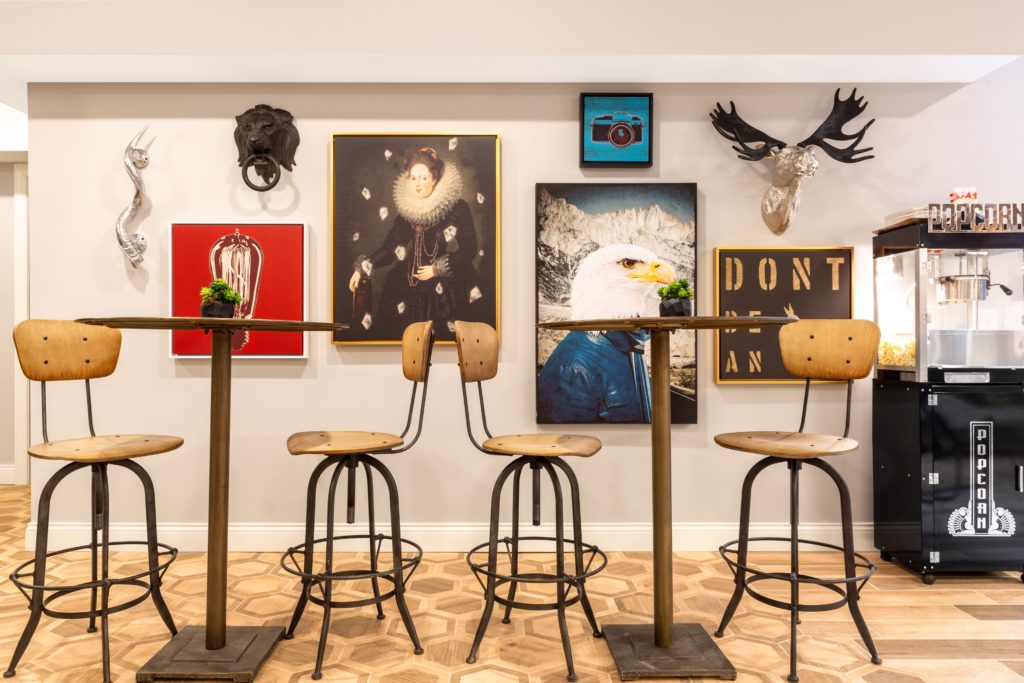
- Use your largest piece of art as the cornerstone of your gallery wall. This doesn’t have to be dead center- play around with the placement to see what you like the most.
- With this large piece placed, mix in your other various photos and objects.
- Determine the spacing you want to use between objects. We recommend 2-3″ of space on all sides of each image- this will ensure the gallery looks intentional.
- Once you’re finished, take a picture of your layout as a reference for the installation!
INSTALL
Now you can install your gallery wall! You can do this however you want, but we recommend trying one of the 2 methods below.
Parchment Replicas
- Take parchment paper and cut out the dimensions of each piece of art you will be using on the gallery wall. Make them a quarter or half-inch smaller on each side (if you have a piece of art that is 5”x7”, make a cutout that is 4.5”x6.5”).
- Take these “replicas” and tape them to their appropriate place on the wall.
- Mark with a pencil where your nails or screws need to go.
Remember to account for the half or quarter inch you removed on each side! - Install the hardware and hang the artwork right over the paper!
Because the parchment paper replicas are smaller than the actual pieces, you don’t have to worry about the paper sticking out from behind the art!
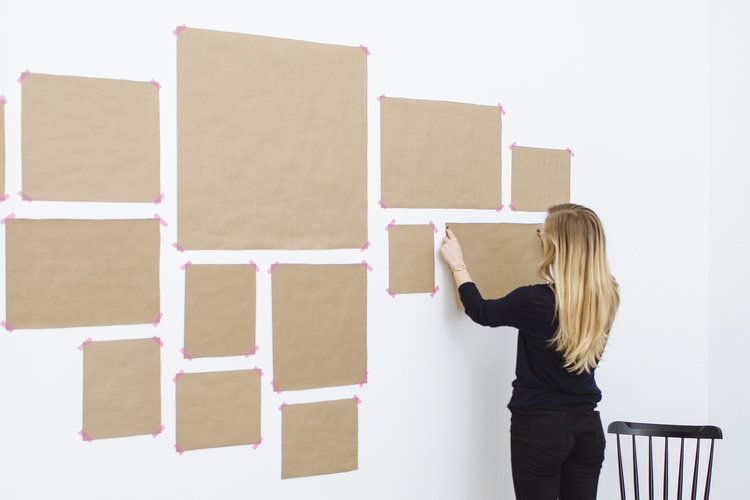
Parchment Walls
- Lay large pieces of parchment paper on the floor or island to create a “wall” that has the same dimensions of your actual wall.
- Lay the artwork on top of it.
- Once placed, trace around each item.
- Mark where the hardware should go on the parchment and then tape the “parchment wall” on the actual wall.
- Install the hardware through the parchment paper, once all of the hardware is placed, remove the paper from the wall. You can easily cut or rip the paper around the hanging hardware.
- With the parchment paper removed, hang each piece in its appropriate spot (refer to the image you took earlier)!
We hope these tips help as you plan and install your gallery wall! It may sound like a lot of work, but the result is well worth the time!
Having trouble deciding what to put in your gallery? Check out our Instagram for gallery wall inspiration!